And so it begins …
The day had only just begun … I got into the office … I grabbed a coffee … sat down at my desk.
I tried connecting to one of my Azure dev VM’s but for some reason I couldn’t RDP to it. I waited a bit of time and then tried again, but still no luck.
My Azure AutomationAccount was configured to automatically start and shutdown my VM’s each working day.
I checked the logs for my AutomationAccount and found the message
“The Server encountered an internal error. Please retry the request.”.
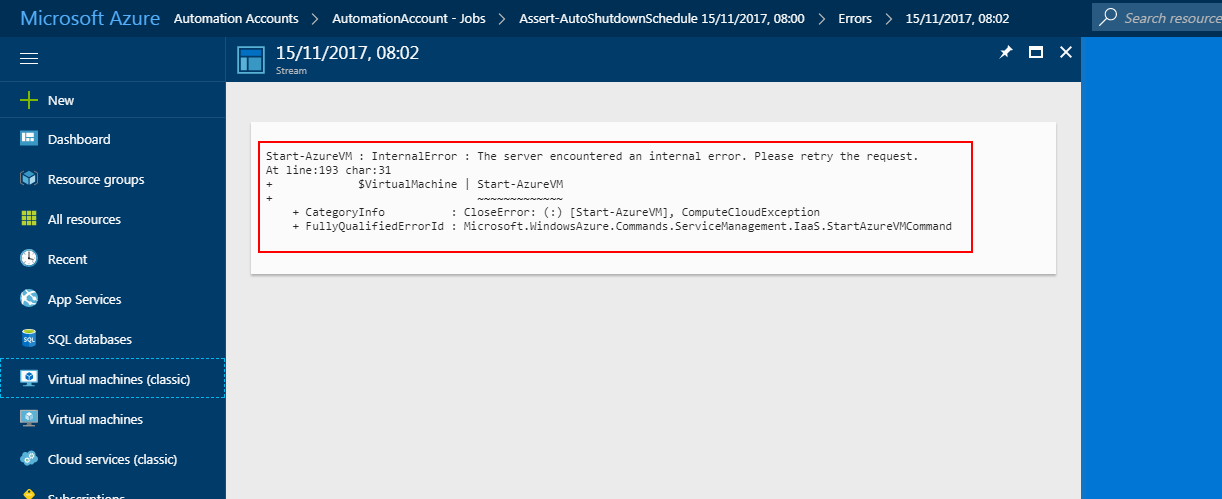
Hmmmm …. What’s going on here ….
I tried manually starting my VM through the console and via PowerShell but still no success. I checked some of my other VM’s and they too had the same problem.
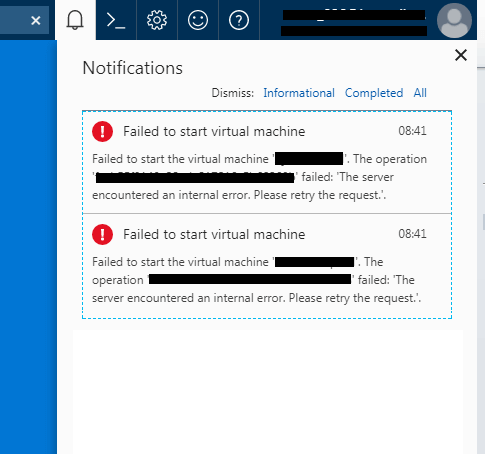
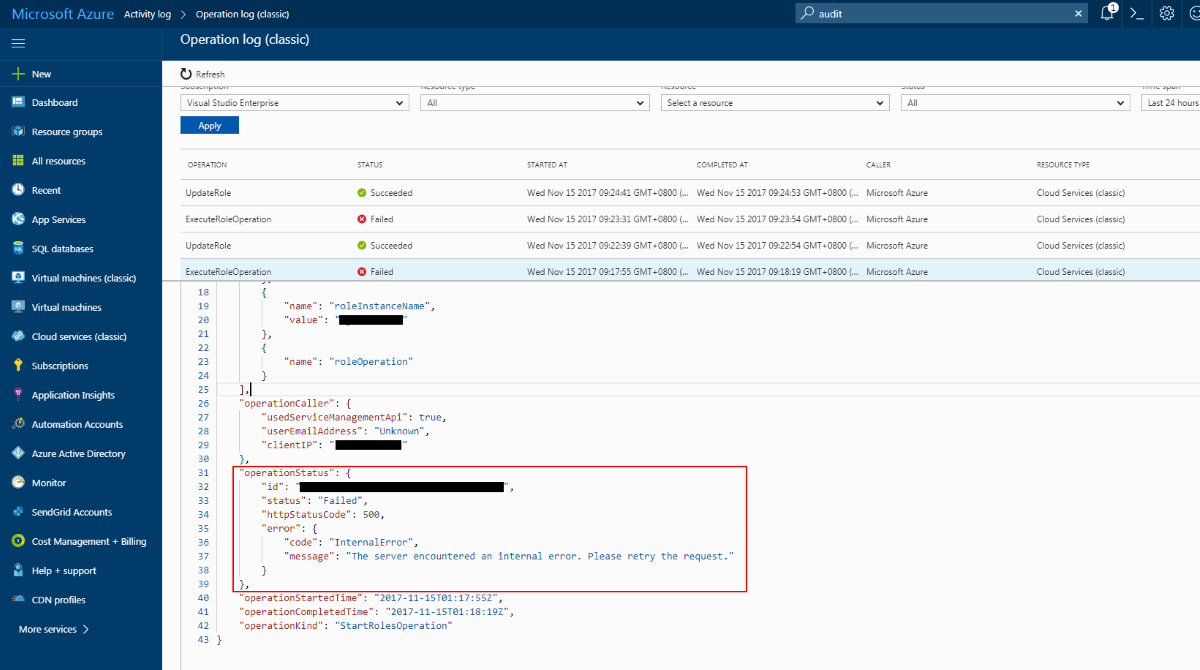
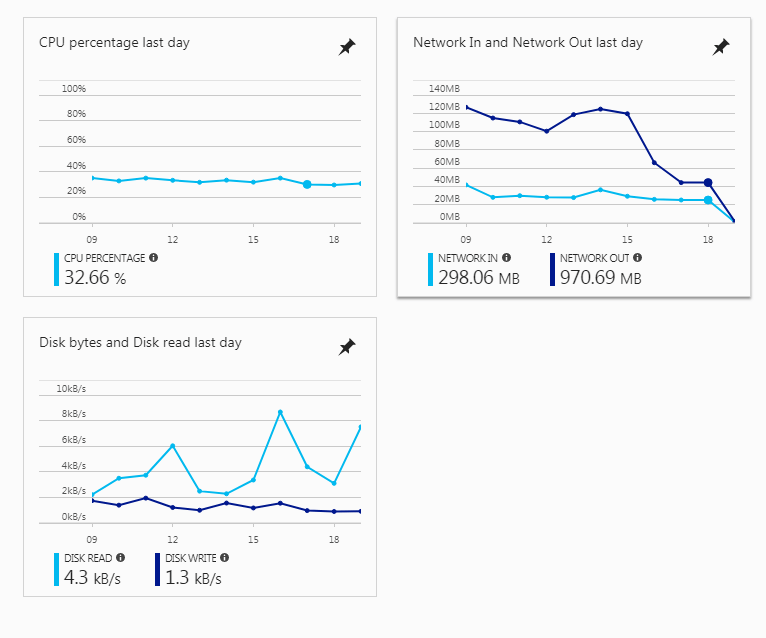
Interestingly, even though the Azure logs showed that my VM had been shutdown, the performance counters were still showing activity.
After trying many things I eventually found the solution. Here’s what worked for me…
Solution 1 – Imaging
Capture an image of your ‘broken’ VM and create a new VM instance from it.
- Log into the Azure Portal
- Navigate to the VIRTUAL MACHINES panel and CAPTURE your broken VM. This will take a snapshot of your VM.

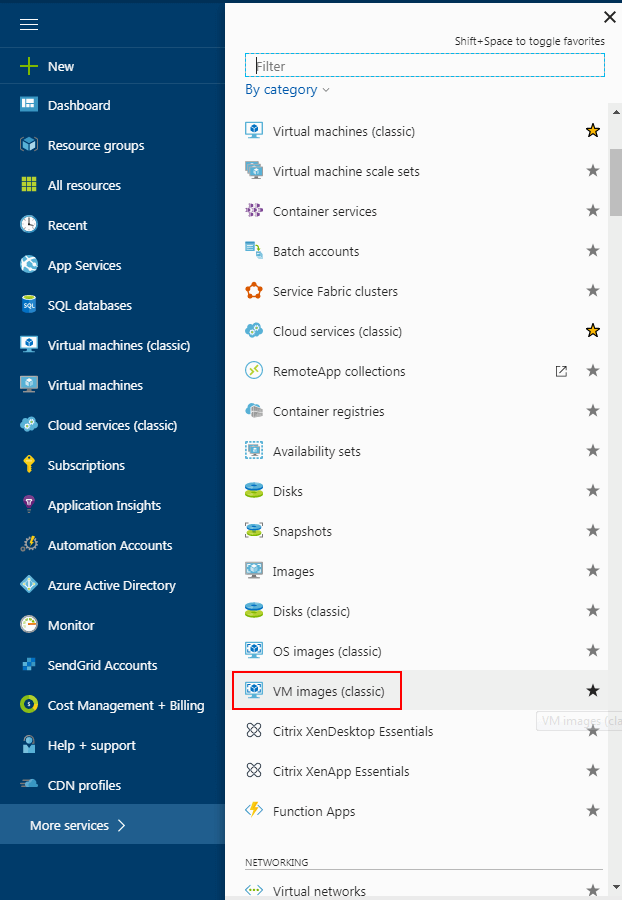
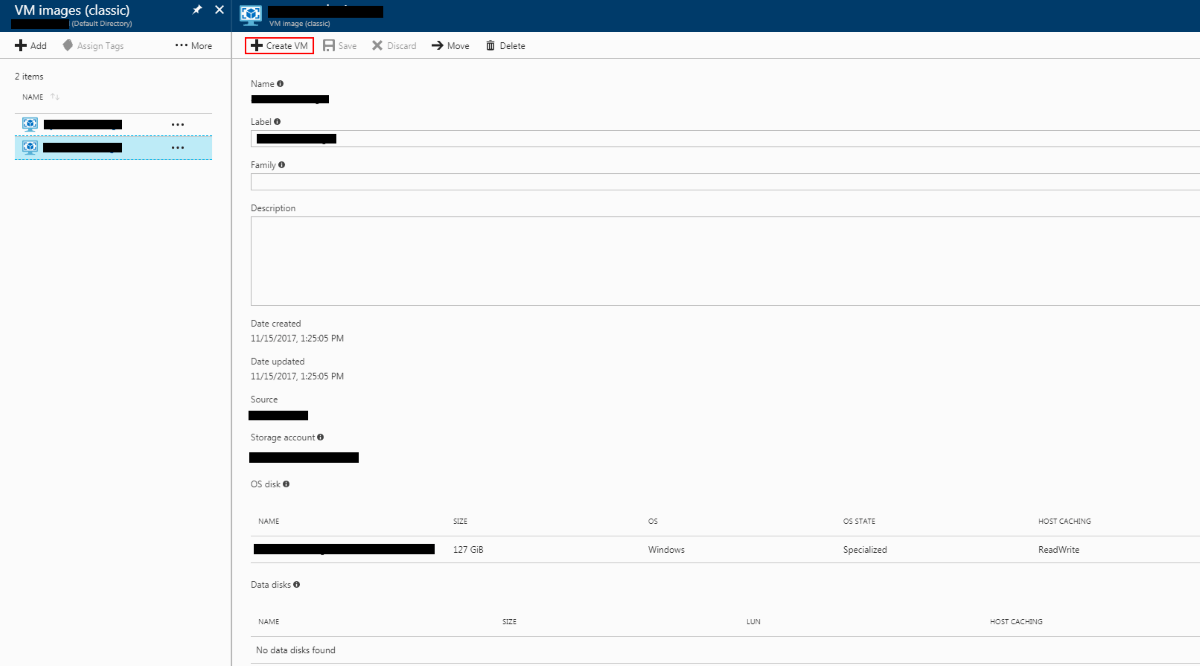
- After doing so, verify that it appears in the VM Images panel

- Now create a new VM instance using this image. Click the image and then click CREATE VM to create a new VM instance. I recommend you choose a configuration for your new VM that closely resembled the old one.

- Start your new VM from the VIRTUAL MACHINES panel. Your VM has been recovered now. Yay!
Solution 2 – Remount Disk
Remount the underlying VM disk to a new virtual machine.
- Log into the Azure Portal
- Delete the Virtual Machine from the VIRTUAL MACHINES panel – by default Azure will leave the underlying disks behind in the Resource Group. If you’re given the option to also delete the underlying disks, DO NOT delete the underlying disks, otherwise say goodbye to your data!

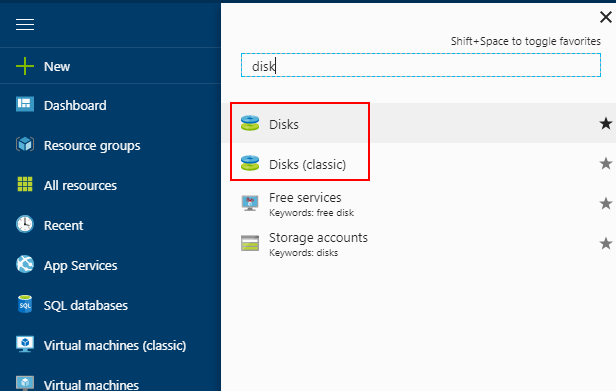
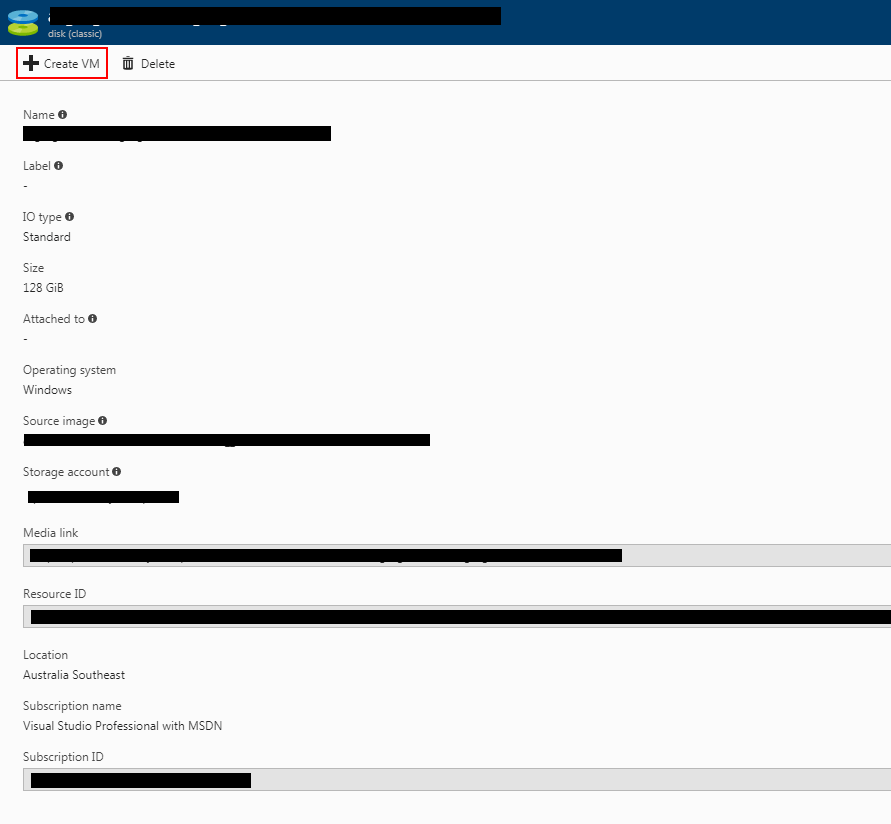
- Navigate to MORE SERVICES > DISKS

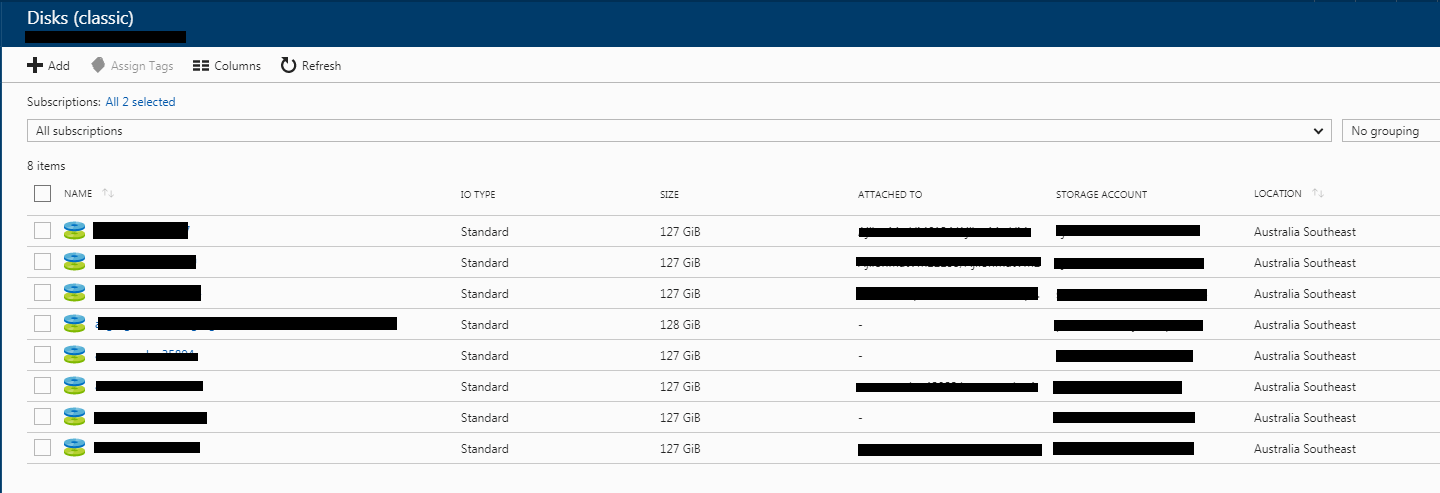
- Locate the orphaned disk and click CREATE VM to create a new VM using the disk you’ve selected. I recommend your new VM configuration matches that of the old VM.


- Start your new VM from the VIRTUAL MACHINES panel. Your VM should be as good as new now!
Final Thoughts
I hope this post has helped others out there that have encountered the same issue. If you have any thoughts or other solutions feel free to share in the comments below.
- Solved: Filename too long for Git - 18th April 2025
- GitHub Actions Exam Study Guide - 14th February 2025
- Solved: Build Errors Not Showing in VS 2022 - 21st November 2024




22nd June 2018 at 7:23 am
Solution #1 just saved me a lot of time. Thanks for the tip!
30th August 2018 at 6:17 pm
Solution#3
Resize the VM, in my case it solved the problem.
20th December 2019 at 5:21 pm
solution 2 worked for me! Thanks a lot!