Overview
As the web continues to grow and evolve, API’s are where all the magic happens that powers this innovation. REST API’s have become increasingly more favoured by developers for their ease of use over other alternatives (XML I’m looking at you).
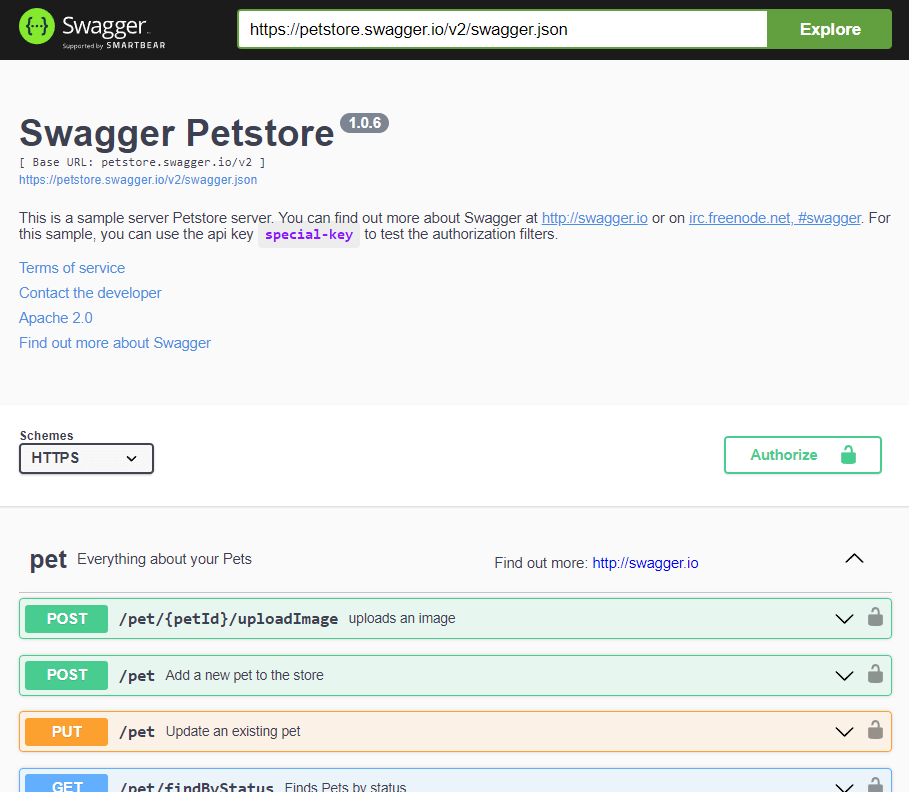
Unfortunately, REST API’s can sometimes become a bit unwieldy in terms of documenting them, and consuming them. It is for this reason that Swagger was born! Swagger will autogenerate documentation for your REST API in the form of an Open API specification (swagger.json) document (formerly Swagger Specification). This makes it much easier for developers to understand and consume an API.
Third-party developers can then use the swagger.json specification file to either manually create an API client or auto-generate one for the preferred language of choice.
In this post, I’ll show you how to autogenerate a C# REST API client from a swagger.json in a few easy steps.
How To NSwag …
There are a variety of ways to generate a REST API client. NSwag is one of the more popular open-source tools available for C# developers. It’s my personal favourite, and so that’s what I’ll be using here.
For the purpose of this demonstration I will be using this publically available sample Petstore API –
https://petstore.swagger.io/

So let’s get started …
First, download and install NSwagStudio from https://github.com/RicoSuter/NSwag/releases.
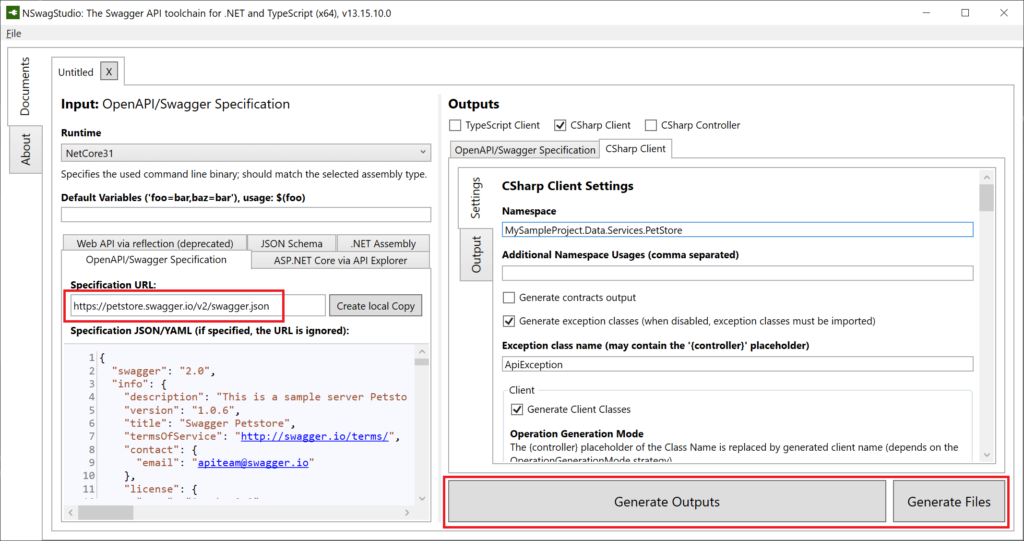
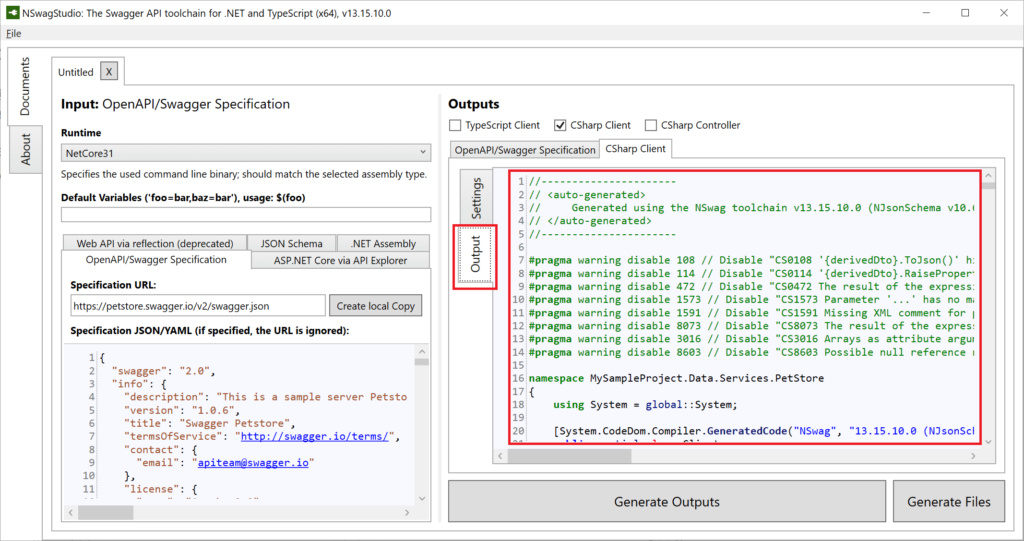
Next, use the NSwagStudio Windows desktop app to generate the C# REST API client using the swagger.json definition.


If however you prefer to use the command line to generate the C# API client, you can do it as follows. I personally prefer this option for many reasons, including the ease of repeatability and ease of documentation.
More information can be found here regarding the available command line options
https://github.com/RicoSuter/NSwag/wiki/CommandLine
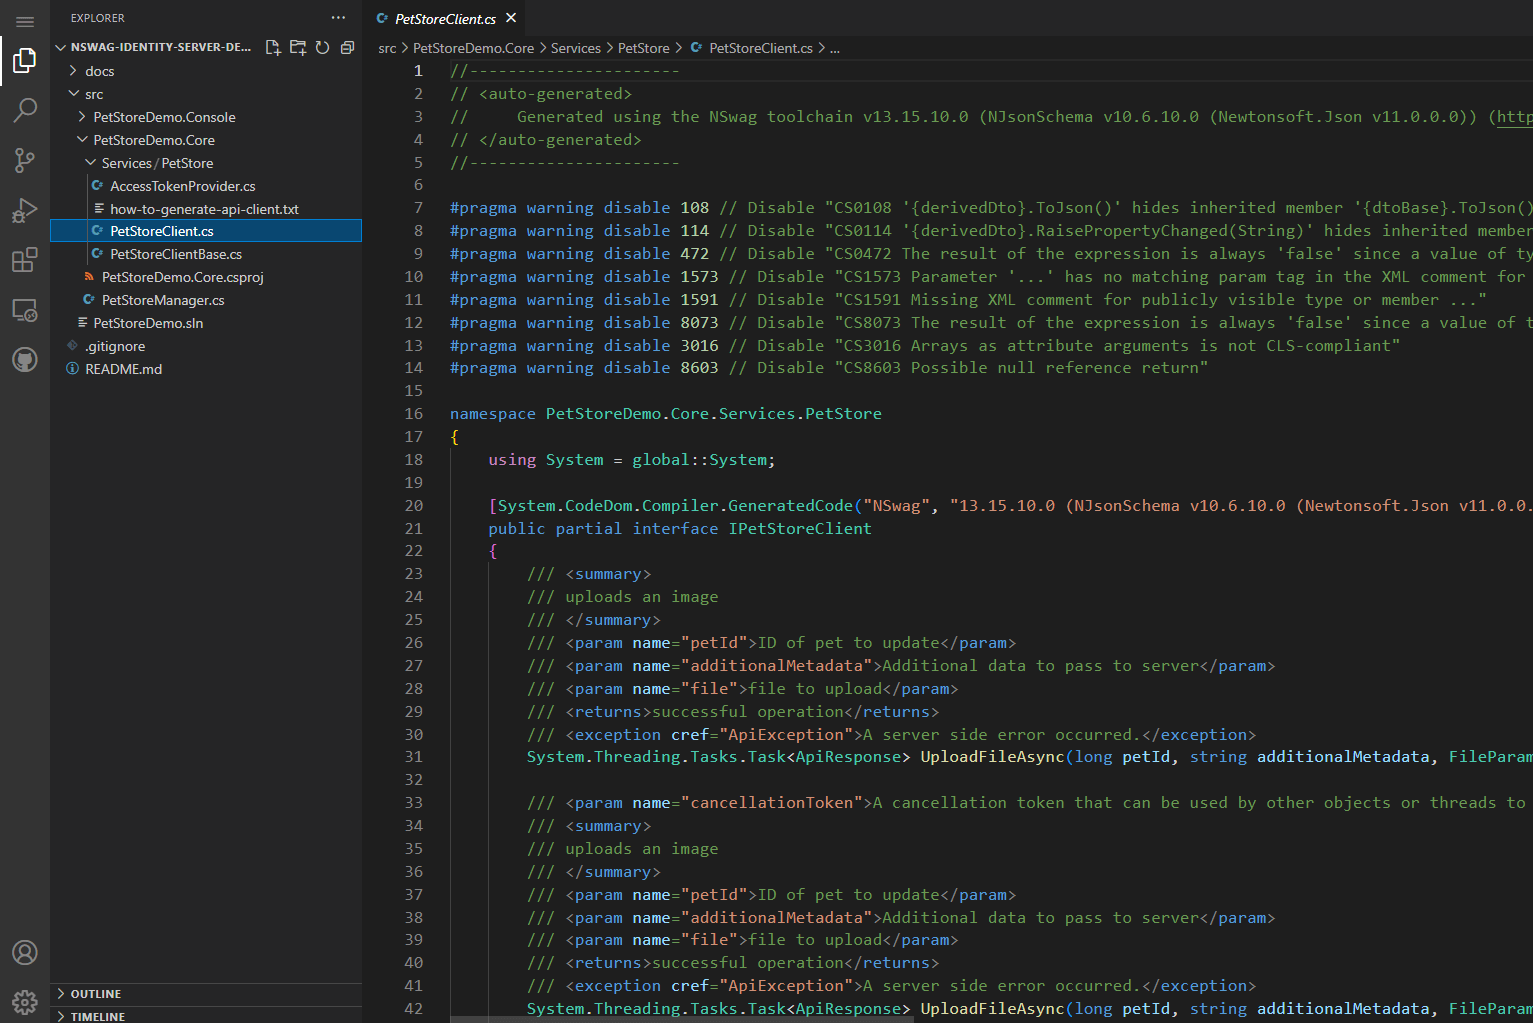
nswag openapi2csclient /input:https://petstore.swagger.io/v2/swagger.json /classname:PetStoreClient /namespace:PetStoreDemo.Core.Services.PetStore /output:PetStoreClient.cs /generateClientInterfaces:true /className: "{controller}PetStoreClient" /clientBaseClass:PetStoreClientBase /UseHttpRequestMessageCreationMethod:trueSo what does the API client look like. Well you can see the generated C# API client for the Petstore API below:
https://github.com/sbartholomeusz/nswag-identity-server-demo/blob/main/src/PetStoreDemo.Core/Services/PetStore/PetStoreClient.cs

Final Thoughts
I hope you have found this article to be helpful. If you have any tips for using NSwag or other alternative REST API client generators, then feel free to share them in the comments below.
Happy coding 🙂
- Solved: Filename too long for Git - 18th April 2025
- GitHub Actions Exam Study Guide - 14th February 2025
- Solved: Build Errors Not Showing in VS 2022 - 21st November 2024
