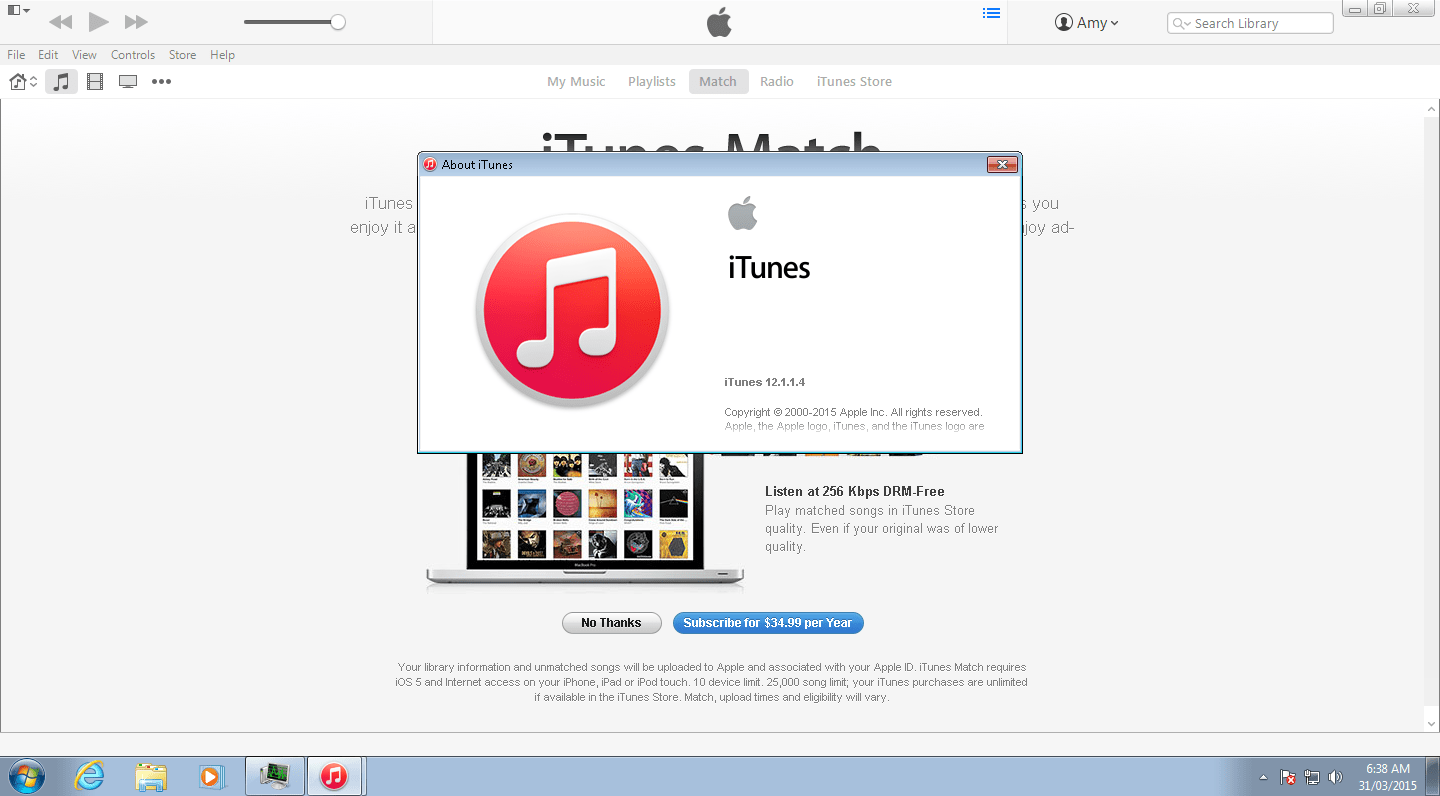
Let me explain …

Ok, for the record, I’m not the biggest fan of iTunes for Windows, and that’s why when I needed to use iTunes I decided to install it within an Oracle Virtualbox virtual machine.
This configuration provides the benefit of portability and it also prevents Apple iTunes from wreaking havoc on your host PC.
Hooray for no iTunes on my host machine!!!
Anyway, this is how you do it,
How to set it up
- Download and install Oracle VirtualBox from https://www.virtualbox.org/
- Open VirtualBox and click MACHINE > NEW to create a new virtual machine.
- Select your OS and memory allocation. In my case I chose Microsoft Windows 7 32 bit

- Choose option Create a virtual hard drive now. You can use the defaults for the next prompts. It’s advisable that you allocate more hard disk space if you are going to store your media files within the Virtual Machine. In my situation I created a shared folder on my host which I mapped to the Virtual Machine.
- Plug in your iDevice to your PC.
- You should now see your Virtual Machine in the VirtualBox Manager window. Click SETTINGS to configuring your VM.

- You’ll need to mount the OS storage media within the Storage panel to install your OS.
- Enable the Network Adapter in Bridged Mode so that you have internet access.
- In the USB pane, ensure the USB 2.0 EHCI controller is enabled otherwise your iDevice will not operate correctly. If you plugged in your iDevice then click the green ‘+’ button and select your iDevice, this will ensure that control of your device is passed straight to your VM automatically each time you start your VM. Otherwise you can manually ‘pass through’ the device once the VM is started.

- It’s also advisable to enable 2D hardware acceleration and add additional Video Memory for improved performance.
- Click OK to save your changes
- Start your Virtual Machine and install the OS and Apple iTunes
- Setup your iTunes library to find your media files. It’s recommended that you use the ‘Consolidate Files‘ library option in iTunes to store all your media files in one single location, that way it’ll be easier for you to relocate your Virtual Machine in future to another PC.
- If you need access to the CD Drive on your host machine, simply start your Virtual Machine and ‘pass through’ control of your CD drive to your Virtual Machine through the DEVICES > CD/DVD DEVICES > HOST DRIVE option
- iTunes should now see your device and should sync successfully.

Issues that I encountered
I had iTunes setup to consolidate all media files to an external USB drive. I experienced device ‘timeout‘ issues and ‘Could not connect to lockdown port‘ errors while syncing with my iPhone. After much hair pulling I realised that the timeouts were occurring only when I configured VirtualBox to ‘pass through’ my USB drive to the Virtual Machine. The issue was solved by instead creating a Shared Machine Folder within the Virtual Machine settings mapping to my USB drive.
I would certainly suggest that you create a snapshot of your Virtual Machine once you’ve created it incase anything goes wrong and you need to rollback to an earlier time.
- GitHub Actions Exam Study Guide - 14th February 2025
- Solved: Build Errors Not Showing in VS 2022 - 21st November 2024
- How To: Configure VSCode to Trust Self-Signed Certs - 16th August 2024


